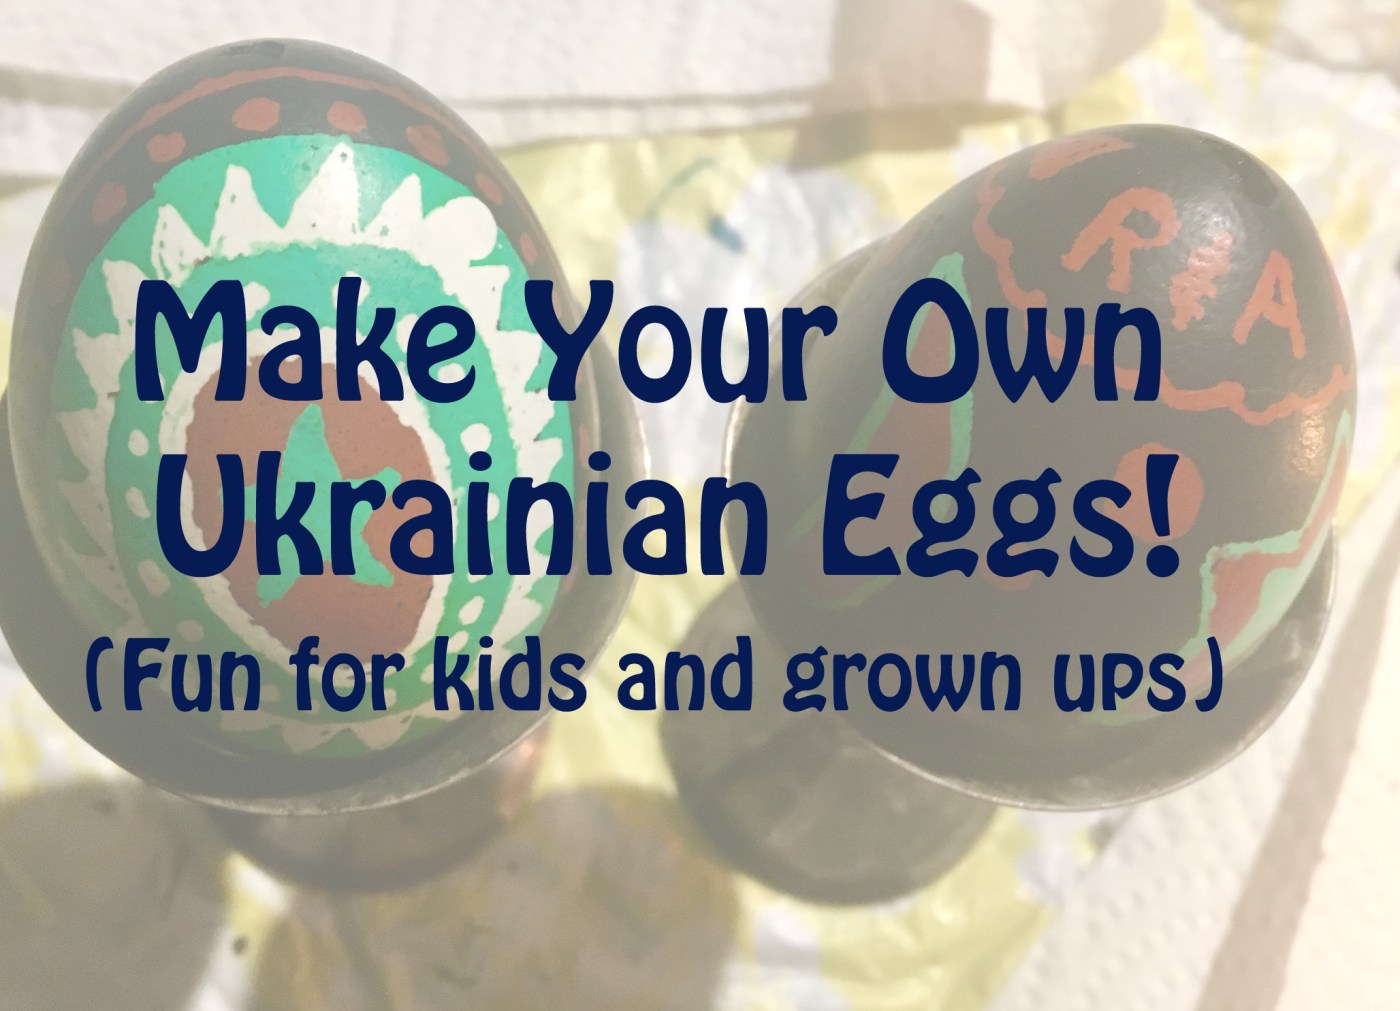
Decorating traditional Ukrainan eggs for easter is literally one of the coolest things you can do at easter. It’s pretty dang cheap, hours of fun and actually great for all ages. Check out this post for other easter fin ideas, lots are easy if you find yourself desperate. My mom started it as a Polish tradition in our house although I don’t remember it being a thing for my Baba (grandmother). I loved it as a kid and we had egg decorating parties every year as a kid which was amazing because you literally get to play with fire as a kid. I’ve introduced it to honey’s family and kids over the years and even taught a course on how to do it at the local creation station. But it’s fun for grown ups too, one year my sister flew 5000 km back across the country so that we could host a drunken Ukrainian egg party, which went on until dawn in our early 20’s. Sure you can go the traditional route design wise but I’ve also seen the local beer logo done, a series of simple stark bugs done and I did a male and female sea monkey for my boss. It’s a lot of fun and just complicated enough to pass some time and keep you entertained. So here’s a how to but first I’m going to start off with a tiny bit of history via my mom an Wikipediadia because it’s kinda cool.

My mom swore that Polish people did Ukrainian Eggs too and it turns out she was right. I remember as a child taking our more simply decorated eggs to ‘Polish church’ to have them blessed. It tuns out decorating Ukrainian eggs and having them blessed is a trait in a whole host of European countries. The idea is that the women in the house make the eggs then have them blessed to give them away. Since it’s a symbol of life traditionally they are not cooked or blown and given whole, which I don’t really recommend but… According to wikipedia at least this is how they were to be given out.
1. One or two would be given to the priest.
2. Three or four were taken to the cemetery and placed on graves of the family.
3. Ten or twenty were given to children or godchildren.
4. Ten or twelve were exchanged by the unmarried girls with the eligible men in the community.
5. Several were saved to place in the coffin of loved ones who might die during the year.
6. Several were saved to keep in the home for protection from fire, lightning and storms.
7. Two or three were placed in the mangers of cows and horses to ensure safe calving and colting and a good milk supply for the young.
8. At least one egg was placed beneath the bee hive to ensure good production of honey.
9. One was saved for each grazing animal to be taken out to the fields with the shepherds in the spring.
10. Several pysanky were placed in the nests of hens to encourage the laying of eggs.
Overview:
Basically in a sentence you use wax and dye to colour the eggs from lightest to darkest but that’s woefully in adequate. Rather than putting the colours on what you do is cover the current colour with wax to prevent the next dye from sticking. There are special little tools (kystka) which you use to apply the beeswax which you heat over a candle. Once you’ve ‘protected’ the current colour with wax you dip it into the next dye. Once that’s done you protect any of the new colour you want to keep with wax and then repeat dying with the next darker colour. You work the dyes from lightest to darkest as the darker dyes will cover the lighter covers but the lighter covers won’t show once it’s dyed dark. Once you reach the darkest colour you’re using there is no need to cover it up with wax as it’s time to remove it. You hold the candle too close to the candle to melt off the wax, but not too close because you can burn the shell! Depending on the design it can take about an hour to several hours to complete an egg.
Supplies Needed:
It can be a bit tricky to track down supplies but they’re pretty cheap! One hobby shop in town sells them (micheals in Canada does not). Previous years I’ve bought from specialty suppliers online but I noticed supplies are now available online.
Eggs
Dyes (about $1.50 each)
Boiling water
Vinegar (optional I always use it in the dye)
Stylus (about $5 each)
Beeswax ($3 a puck which lasts a long time get a couple and cut them up)
Lots of paper towel
Jars or bowls
Spoons or egg grabbers
Candles
Step by Step Instructions:
1. The first thing you’ll have to do its Prep your egg. You’ll probably want to save it after so I recommend blowing it out, I use a needle and my mouth but check out youtube for ideas on how to blow eggs. You could hard boil them if you don’t plan on keeping them forever. To remove best before stamps try rubbing alcohol, vinegar or soap. Just nothing greasy. Rinse it well and let it dry.

2. Light a candle, tapers work best and select your stylus. Purple is wide, green fine and blue is very fine for the style I have, there is a stamp on the back. Heat it over the candle. Try not to catch it on fire (that’s what I did 20% of the time when I was a kid) blow it out if it does.

3. Scoop up some wax with the back and re-heat

4. Its a really good idea to practice with paper towel for a while to get the hang of it. Also check your flow each time you heat it. If you make a mistake you can’t remove the wax from the egg. Just go with it and incorporate it into you exam. Chances are your second egg will go more to plan.

5. Since we are using the wax to prevent the later dyes from sticking to certain spots and create a design cover anything you want to keep white at the end. The next dye will stick everywhere else. When covering bigger areas use a bigger stylus.

6. Now immerse it in your lightest dye. You go from light to dark for the order of dyeing. Some colours cover better than others and the longer you keep the egg in the dye the better it sinks in. You won’t have every colour on the list but check this link for the established order. This year we kept it simple and did; white, light green, brick and black. Dry off with paper towel.

7. Cover anything you want to keep this colour in wax, I covered the green I wanted to keep here.

8. Next darkest dye (brick) and cover wha you want to keep this colour (and so on depending on how many colours you plan to use.

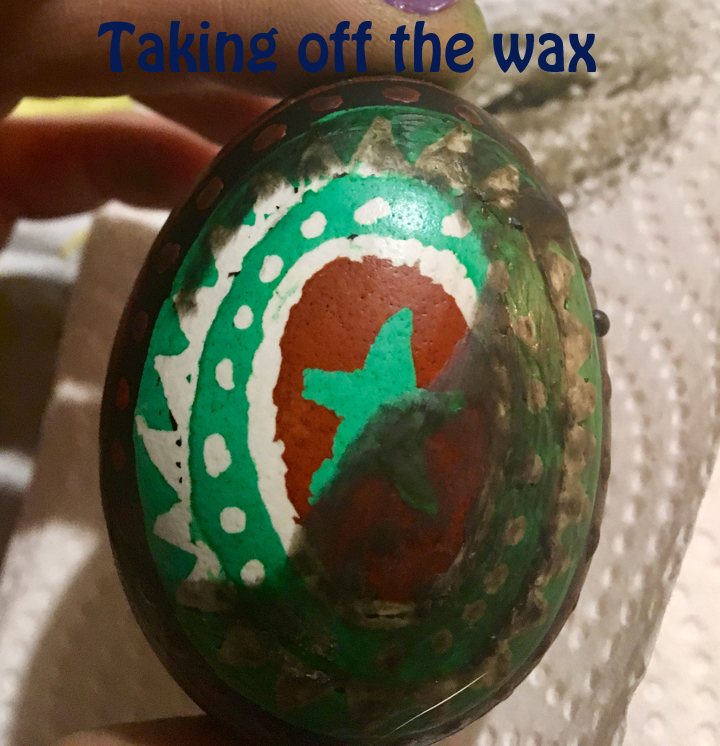
9. Now is a good time to wash your hands well to remove loose colour don’t worry if it all doesn’t wash off completely. This can prevent putting black smudges on you egg as you remove the wax. Also let your egg dry completely. Heat the wax on the egg gently next to the candle, too close to the flame and it will char your egg. Wipe off with paper towel. The ugly wax melts and reveals your beautiful colours and seals the egg making it shine.

See super fun, you can look online for inspiration but you might want to pick simpler designs for your first few. There is also no reason to do anything too traditional. Draw a cat, a bunny, a smiley face or your favourite emoji! It’s not a bad idea to commit to a practice egg before undertaking your true masterpiece. If you cover the dyes they last for weeks so there is no need to do all your eggs in one day and you can host multiple parties with the same dyes. Say one for kids and one for grown ups!
I hope you try this it’s a lot of fun and doesn’t cost a lot for hours of entertainment. We’ve had kids parties, very adult parties and family get togethers and done Ukrainian eggs at all of them. This year we just sat at the kitchen island, just the two of us and watched Netflix on the computer and it was a lot of fun too. Honey always does a love egg with out initials and the year and we might pick at it and do it over the next few days too.

Have you ever made Ukrainian Eggs? Did you like it? Are you eager to try it out next year?

Leave a comment